The air in Mount Harsand is thick with toxic ash. Without a Fire-Resistant Mask, Kliff's stamina regeneration is halved. Additionally, standing on dark volcanic soil for too long will trigger "Burn" damage. Stay on the grey stone paths whenever possible.
1. The Siege of Harsand Outpost
The war has reached a stalemate at the foot of the volcano. Your mission is to lead the Greymanes in a daring night assault to capture the Fire Outpost. This section heavily relies on the Tactical Command System.
Tactical Tip: Best Companion for the Volcano
Bring Macduff as your primary companion. His passive skill "Forge Hardened" grants the entire party a +20% resistance to all fire and burn damage, which is absolutely vital for surviving the magma chambers ahead.

The assault on the Harsand Outpost tests your leadership skills.
-
1
Recruiting the Saboteurs
Before the siege, head to the mercenary camp in the Ash Valley. You must recruit at least 3 Demolition Specialists (800 Gold each) to destroy the reinforced iron gates of the outpost.
-
2
Commanding the Charge
As you advance, the enemy will fire flaming arrows. Use the D-Pad to issue the [Phalanx] command. Your shield units will form a wall around Kliff, reducing incoming projectile damage by 80%. When you breach the gates, switch to the [Berserk] command to quickly overwhelm the guards.
-
3
Alternate Route: The Weak Wall
If you commanded a Saboteur to flank left during the initial charge, they will blow a hole in the western wall. This bypasses the heavily guarded courtyard entirely and leads straight to the inner sanctum.
Once you breach the main courtyard, you will hear Yann shouting for help. A burning siege tower is about to collapse on his squad. You only have 45 seconds. Ignore the enemies, sprint to the tower, and use a Heavy Attack to shatter the wooden supports locking him in. Saving him unlocks the "Brother in Arms" combo skill for the rest of the game.
2. The Drawbridge & The Molten Puzzles
With the courtyard secured, you must push deeper into the volcano. But the path is blocked by elite forces and complex ancient machinery.
📜 Lore Context: The Smoldering Legion
The soldiers inside the volcano aren't just wearing heavy armor—it's fused to their skin. The extreme heat and dark magic of Harsand have corrupted them into mindless defenders known as the Smoldering Legion, commanded by ancient elemental magic.
-
1
Mini-Boss: The Smoldering Centurion
Before the puzzle room, you must cross the drawbridge guarded by this mini-boss. He wields a massive greatshield that spits fire. Do not attack from the front. Wait for him to perform his shield-charge, dodge-slide behind him, and strike his unarmored back. Drops: Centurion's Crest.
There are three giant valves connected by pipes. The goal is to redirect the lava flow into the cooling pits to solidify a path.
- Sequence: Turn the North Valve clockwise once. This stops the main flow.
- The Catch: A 30-second timer starts. You must sprint to the South Valve before the pressure builds up and the pipes explode.
- Final Step: Use a frost-elemental attack (or an Ice Arrow) on the exposed central pipe to instantly cool the lava, creating a permanent bridge across the chamber.
After crossing the magma bridge, do NOT go through the main doors. Instead, jump down onto a small, isolated pillar of rock to the right. The purple Rift portal is hidden below eye level.
- The Challenge: This is a pure combat trial. You must defeat 4 waves of Ashen Berserkers. The catch? The arena slowly sinks into the lava. You must kill them quickly before you run out of safe ground.
- Reward: The Harsand Abyss Fragment (Increases Perfect Parry window by 15%).
♨️ Secret Rest Area: The Ashen Springs
Low on healing potions before the boss? After the Magma Diverter puzzle, look for a narrow crack behind the northern waterfall of lava. Squeeze through to find a hidden natural hot spring. Stepping into the water will completely restore your Health and Stamina, and grant a temporary +30% Fire Resistance buff for the upcoming Vulkan fight.
3. Chapter Boss: Vulkan, the Molten Golem
Vulkan is a colossal entity made of obsidian and living magma. He is slow but can end the fight in a single hit.
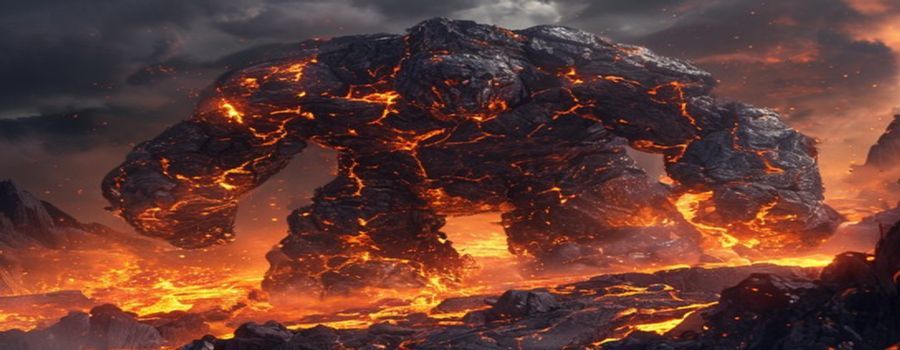
Vulkan waits in the deepest chamber of Mount Harsand.
| Phase | Vulkan's State | Execution Strategy |
|---|---|---|
| Phase 1 (Obsidian Shell) |
Invulnerable | Vulkan is covered in hardened rock. You MUST use the outpost's abandoned cannons. Lure him in front of a cannon, wait for him to roar, and fire to shatter his outer shell. |
| Phase 2 (Exposed Magma) |
Volatile & Fast | Now vulnerable, but every time you hit him, lava splashes back at Kliff. Use the "Fragment of the Tide" (from Chapter 5) to negate the slowing effect of the lava pools he creates. |
| Final Phase (Supernova) |
Area Denial | Vulkan begins to melt the entire floor. Use the Axiom Force to grapple onto the overhead moving cranes. Stay airborne and drop explosive barrels on his head to finish him. |
Defeating Vulkan grants the "Fragment of Ember". This final elemental artifact allows Kliff to imbue any weapon with permanent Fire damage and grants 100% immunity to environmental burn effects.
5. Chapter 6 Completion
✅ Before Leaving Harsand...
The upcoming battle in Chapter 7 will test everything you've built. Do not leave the volcano without checking off these items:
Achievement Unlocked
Forged in Fire: Command the siege of Harsand and extinguish the Molten Golem. (40G / Gold)
💬 Community Strategies & Discussion
Did you find a hidden chest? Struggling with a boss? Share your tips and questions with other mercenaries below!